The Practical Guide to AI Engineering
In-depth coverage of AI engineering for businesses. Analysis, technical breakdowns, and implementation guides from the field. Subscribe for weekly insights. No spam.
Join 300+ readers getting weekly AI engineering insights.
Agentic Systems
AI Agents Break the Same Six Ways. Here's How to Catch Them Early.
Works in staging. Fails for users. Six architectural patterns explain the gap, and all of them show warning signs you can catch early.
You Can't Fix What You Can't See: Production AI Agent Observability Guide
Failures you can't reproduce. Error logs that tell you nothing. Three observability pillars solve this: tracing, monitoring, and evaluation.
The AI Agent Prompt Engineering Trap: Diminishing Returns and Real Solutions
Founders burn weeks tweaking prompts when the real breakthrough requires a few hours of architectural work.
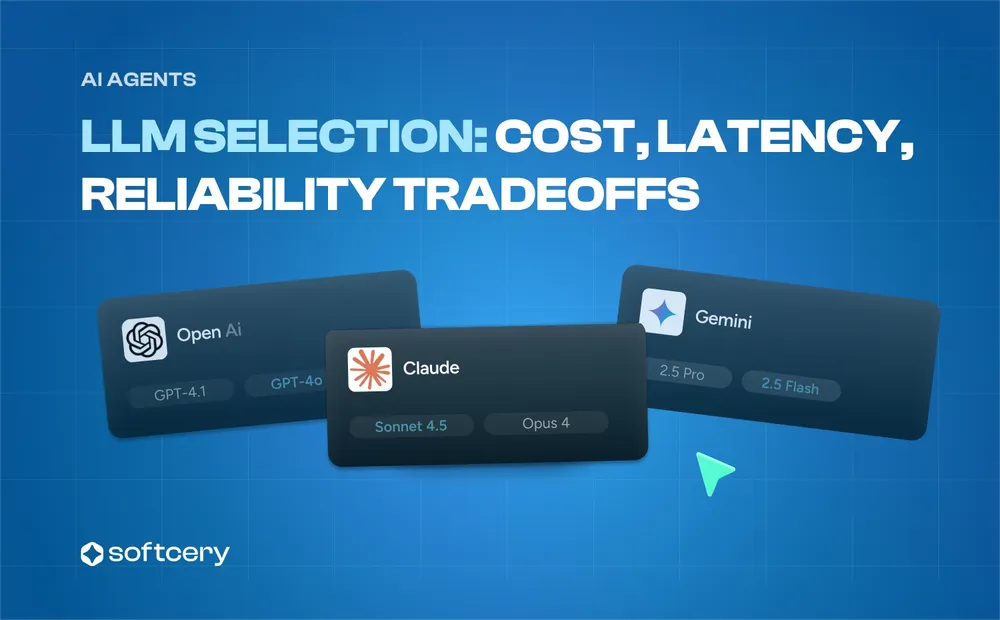
Choosing LLMs for AI Agents: Cost, Latency, Intelligence Tradeoffs
Demos work. Production reveals $47 conversations, 2-second pauses, unpredictable failures. Three dimensions help choose.
We Tested 14 AI Agent Frameworks. Here's How to Choose.
Your use case determines the framework. RAG, multi-agent, enterprise, or prototype? Here's how to match.
Voice Agents
How to Choose STT and TTS for Voice Agents: Latency, Accuracy, Cost
Every provider claims low latency and high accuracy. Real differences show up in production. Here's what actually matters.
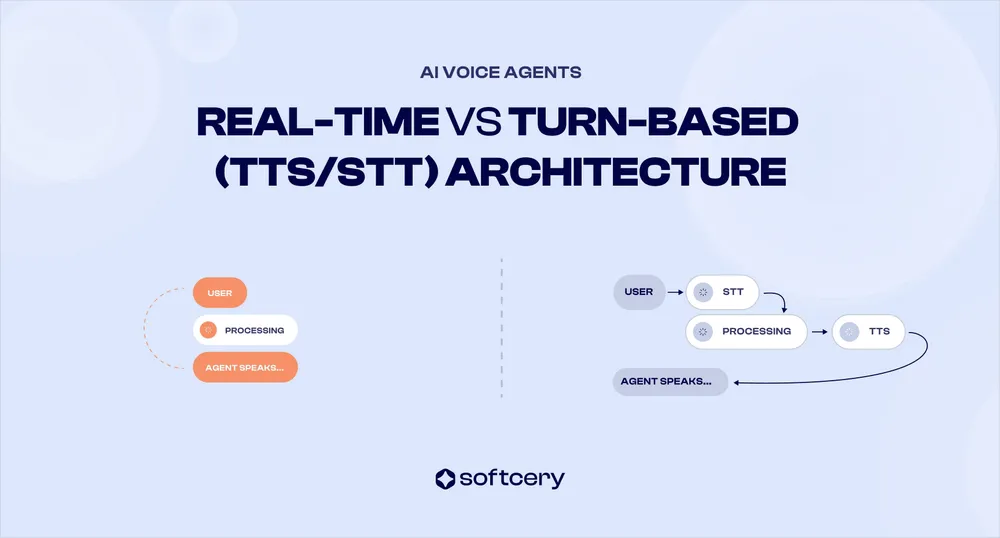
Real-Time (S2S) vs Cascading (STT/TTS) Voice Agent Architecture
Both architectures work in demos. Different problems emerge in production. Here's what determines the right choice.
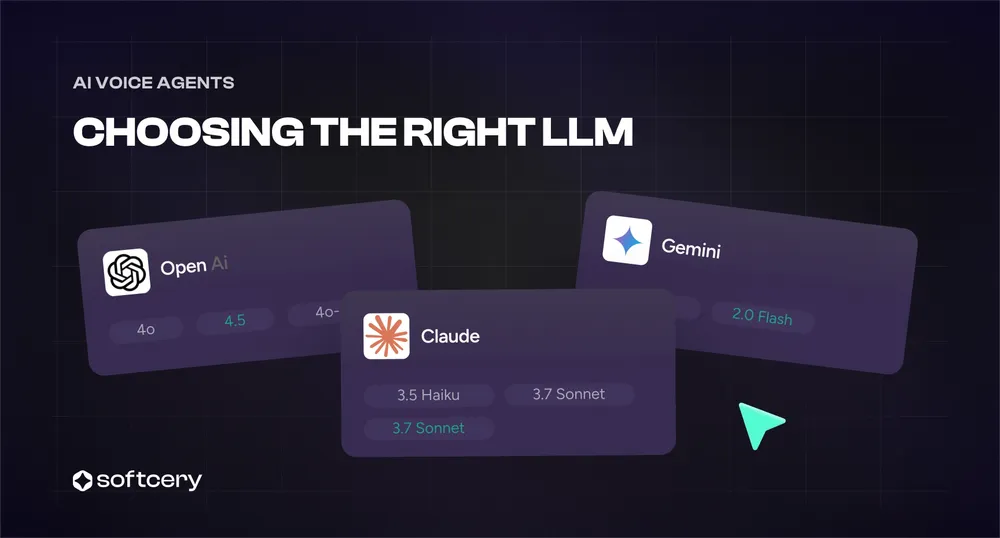
Choosing an LLM for Voice Agents: Speed, Accuracy, Cost
Fast models miss edge cases. Accurate models add 2 seconds. Cheap models can't handle complexity. Here's how to choose.
Why Voice Agents Sound Great in Demos but Fail in Production
Understanding why AI voice agents break down is the first step to building a solution that actually works in real life.
Testing Voice Agents: Methods, Metrics, and Tools
Controlled tests pass every time. Real users break agents with accents, noise, and bad networks. Here's what to test for.
Featured
Agentic Coding with Claude Code and Cursor: Context, Memory, Workflows
Agents go in circles without project context. The same agent ships production code daily with proper structure. Here's the system.
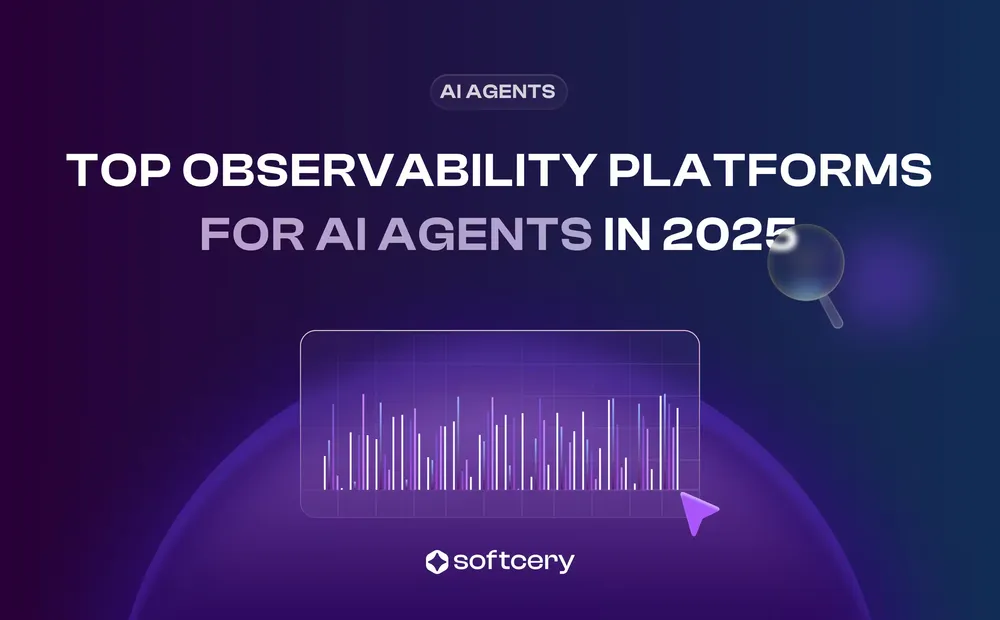
8 AI Observability Platforms Compared: Phoenix, Helicone, Langfuse, & More
AI agents fail randomly. Costs spike without warning. Debug logs show nothing useful. Eight platforms solve this differently.
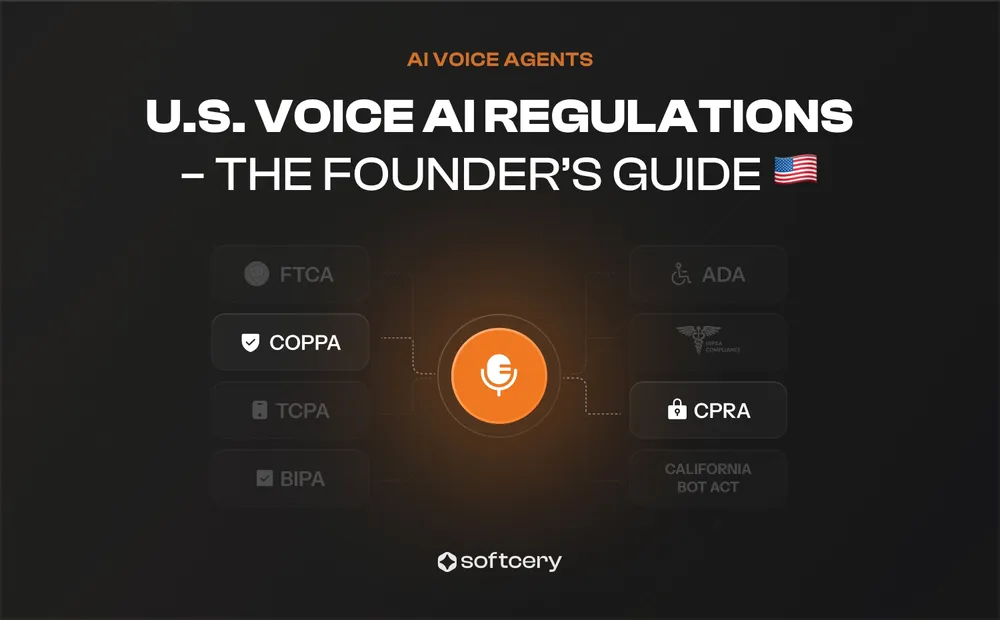
US Voice AI Regulations: TCPA, BIPA, COPPA, HIPAA, & State Privacy Laws
Legal compliance sounds expensive and complex. Most voice AI startups need eight laws and a 5-step framework to ship safely.
11 Voice Agent Platforms Compared: Vapi, Ultravox, Retell, & More
Platforms promise easy setup. Production reveals control limits, concurrency caps, and cost scaling. Match your constraints before choosing.
SOC 2 for Voice AI Agents: Security, Confidentiality, and Quick Wins
Enterprise deals stall without SOC 2. Formal audits cost months and $50k+. Eight steps align your startup now before compliance blocks revenue.